I don’t consider myself creative or artistic. The artistic bias probably goes back to school, where the requirement of an art elective ruined my chances at a 4.0 grade average (and exemplified by my Featured Image attempts, which even AI can’t seem to help me with).
The creative bias is that I usually can’t do it on demand. I’ve also learned that if you get out of your own way, creativity happens fairly naturally. This is similar to how Douglas Adams describes how one learns to fly. Anyway, one way to get over a lack of creativity and artistic sense is to let AI tools do it for you, and one that I find really handy for my handicap is PowerPoint Designer. (For those who think Designer isn’t AI, marketing is clearly doing it’s job, and perhaps missing the point, and here is proof— as long as the link is valid).
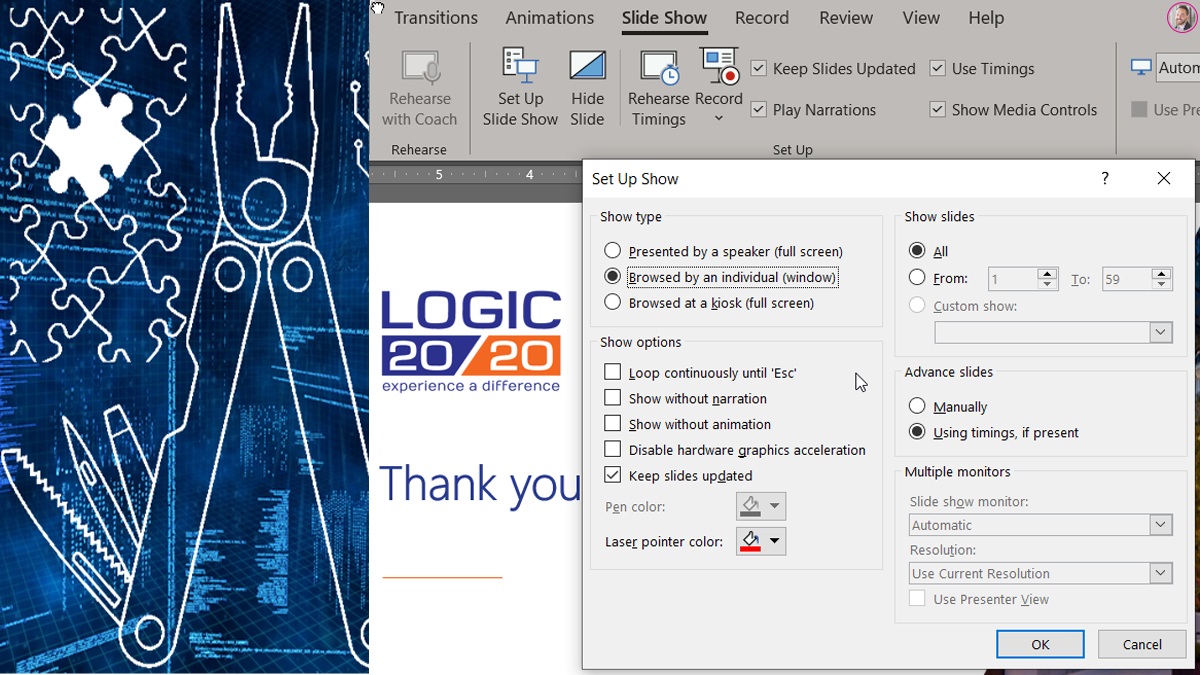
Personally, I don’t mind boring slides. I actually like have really basic slides where the purpose of the slide is for people to remember what we’re talking about when their minds inevitably wander. But, sometimes I am creating slides for other people, or need to meet the expectations of people with different opinions on the matter, so I need to make them a bit less boring, and designer is a great way to do that. One frustration I have with designer is that it so often gives me this message: 
Usually this can be fixed by simplifying the slide, i.e., remove the cool graphic you added and let it focus on the text. Or you can split the graphic and text into separate slides and then combine the results after the magic happens.
Oh, and one word of caution: Copy your original slide before letting Designer have its way with it, because sometimes the new formatting is no longer easy to copy and paste.
Back to the cool hack part. My second annoyance with Designer, after it apologizing for having no suggestion of how to improve my work that clearly needs improvement, is that it gives so few suggestions. This seems to have gotten worst, and I suspect it is because those data centers are saving cycles for the AI that the marketing folks are calling AI. Recently, it was only giving me four or five options, many of which were just minot variations on the themes, like this:

I wasn’t too thrilled with any of the options, but I picked one just to move on and make some progress. Maybe an AI image would spruce it up enough (in the end, it did). Being the paranoid person who has lost early versions that I wished I could go back to, I made a copy first. Usually, when I make a copy, I start working in the copy. But this time, for no particular reason, I went back to the original…where Designer was showing entirely new options based on it’s own modification:

It seemed I had accidently cracked the code to get more options, like in the good ole days before everyone was using these tools, too. Just to prove my theory, I tried repeating the process, and sure enough…

I didn’t really find an end to variations, though I admit that the quality of options generally declined, with an occasional interesting one coming up here and there. Full disclosure: this may have just been the raw material I started with, but that is back to my bias against my own creativity.
So, that’s my big discovery for the day. Well, there were really more, but I have to get back to “real work”, until this writing stuff actually starts paying some bills. Forward this to your friends (or enemies) if you would like to contribute to this hobby.
© Scott S. Nelson