This is a short post to save people the time of discovering that what is usually thought to be more efficient is not in one case…
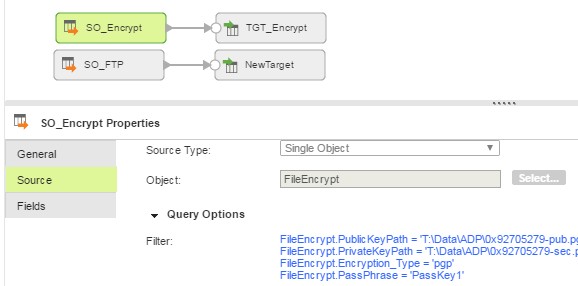
I’m working on some ETL integrations where the source is sometimes so complicated that it is too painful to work with it within the Informatica Cloud Mapping Designer. Fortunately, the customer also has Informatica Cloud Real Time, which has some handy APIs for accessing and re-arranging data from ReST and SOAP services. In one particular case I need to get check each record before sending the result set to a Mapping Task. I followed an example where one process calls a sub-process that is designated to apply to only the object type of the record being processed (a simplified version is depicted below).


This worked as described, though looking at the resulting process, it seemed that I could eliminate the sub-process by recursing the file writer call inside the first process.

The recursion approach worked, but it was much, much slower than the approach of handing off the file writing task to the sub-process. This seemed unexpected given the minimal processing being done, but there you have it.
© Scott S. Nelson